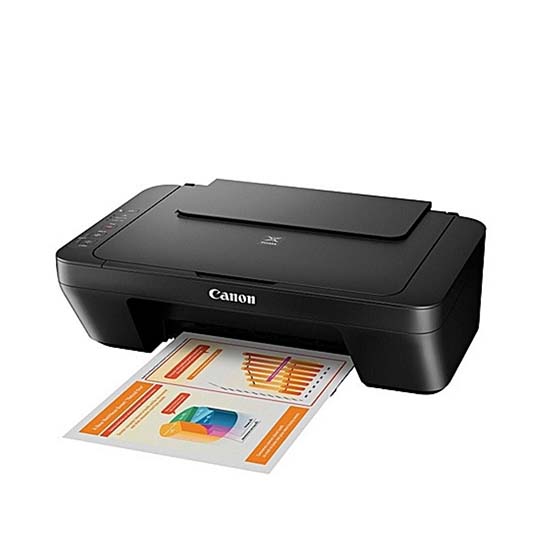
In today's digital age, printers have become an essential tool for both personal and professional use. Sharp printers are known for their reliability and high-quality output. However, connecting your Sharp printer to your computer can sometimes be a daunting task. In this comprehensive guide, we will walk you through the step-by-step process of connecting your Sharp printer to your computer, ensuring a seamless printing experience.
- Check Compatibility:
Before diving into the connection process, it is crucial to ensure that your Sharp printer is compatible with your computer. Visit the official Sharp website or refer to the user manual to verify compatibility with your operating system. This step will save you time and frustration later on. - Gather the Necessary Equipment:
To establish a successful connection, you will need the following equipment:
- USB cable: Ensure you have a USB cable that is compatible with your Sharp printer model.
- Power cable: Connect your printer to a power source.
- Installation CD or software: Sharp printers often come with installation CDs or downloadable software. Make sure you have the necessary installation files ready.
- Install the Printer Software:
Insert the installation CD into your computer's CD drive or download the software from the official Sharp website. Follow the on-screen instructions to install the printer software. This software will enable your computer to communicate with the printer effectively. - Connect the Printer to Your Computer:
Once the software installation is complete, it's time to connect your Sharp printer to your computer. Follow these steps:
- Power on your printer and ensure it is in a ready state.
- Connect one end of the USB cable to the printer's USB port and the other end to an available USB port on your computer.
- Wait for your computer to recognize the printer. It may take a few moments for the connection to establish.
- Configure Printer Settings:
After the connection is established, you may need to configure some printer settings to optimize performance. Access the printer settings through the software installed on your computer or via the printer's control panel. Adjust settings such as paper size, print quality, and default printer preferences according to your requirements. - Test the Connection:
To ensure a successful connection, it is essential to test the printer. Open a document or image on your computer and select the print option. Choose your Sharp printer from the list of available printers and click "Print." If the printer successfully prints the document, congratulations! Your Sharp printer is now connected to your computer.
Conclusion:
Connecting your Sharp printer to your computer doesn't have to be a complicated process. By following the steps outlined in this comprehensive guide, you can establish a seamless connection and enjoy hassle-free printing. Remember to check compatibility, gather the necessary equipment, install the printer software, connect the printer to your computer, configure settings, and test the connection. With these steps, you'll be well on your way to maximizing the potential of your Sharp printer. Happy printing!

